

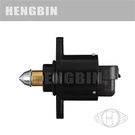
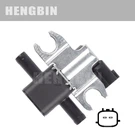

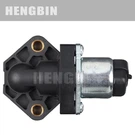

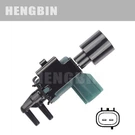
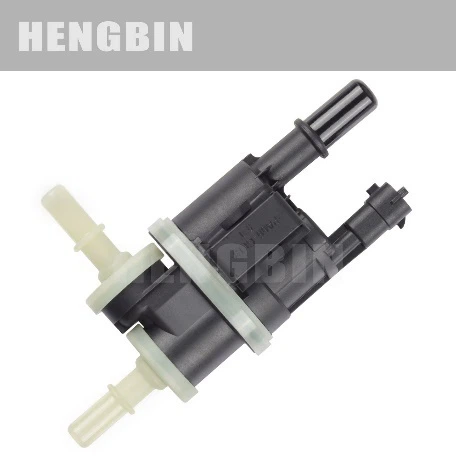
A carbon canister solenoid valve is a crucial component in a vehicle's evaporative emission control system. Its main function is to regulate the flow of fuel vapors from the carbon canister to the engine's intake manifold. Over time, this valve can become dirty or clogged with debris, which may lead to poor engine performance, increased emissions, and even trigger the check engine light. As a carbon canister solenoid valve supplier, I understand the importance of keeping these valves clean and in good working condition. In this blog post, I'll share some detailed steps on how to clean a carbon canister solenoid valve effectively.
Step 1: Gather the Necessary Tools and Materials
Before you start the cleaning process, it's essential to gather all the tools and materials you'll need. Here's a list of what you should have on hand:
- Safety goggles and gloves: To protect your eyes and hands from any chemicals or debris.
- Socket wrench set: To remove the valve from the vehicle.
- Cleaning solvent: A suitable solvent for cleaning automotive parts, such as carburetor cleaner or brake cleaner.
- Compressed air: To blow out any remaining debris after cleaning.
- Clean rags or towels: To wipe down the valve and dry it.
- A small brush: Such as a toothbrush, to scrub away stubborn dirt.
Step 2: Locate the Carbon Canister Solenoid Valve
The location of the carbon canister solenoid valve can vary depending on the make and model of your vehicle. In most cases, it can be found near the engine or the carbon canister itself. Refer to your vehicle's service manual or do a quick online search to find the exact location. Once you've located the valve, visually inspect it for any signs of damage or wear.
Step 3: Disconnect the Battery
Before you begin working on the valve, it's crucial to disconnect the vehicle's battery to prevent any electrical shocks or short circuits. Locate the negative terminal of the battery and use a socket wrench to loosen the nut. Once the nut is loose, carefully remove the negative cable from the terminal and set it aside.
Step 4: Remove the Carbon Canister Solenoid Valve
Using the appropriate socket wrench, carefully remove the bolts or nuts that hold the valve in place. Take note of the position of the valve and any hoses or electrical connectors attached to it. Disconnect the hoses and electrical connectors by gently pulling them off. Be careful not to damage the connectors or hoses during this process. Once all the connections are detached, carefully remove the valve from the vehicle.
Step 5: Inspect the Valve
Once you've removed the valve, take a close look at it to assess the level of dirt and debris. Check for any signs of clogging, corrosion, or damage. If the valve is severely damaged, it may need to be replaced rather than cleaned. However, if it's just dirty, you can proceed with the cleaning process.
Step 6: Clean the Valve
Now it's time to clean the carbon canister solenoid valve. Place the valve in a well - ventilated area and spray it thoroughly with the cleaning solvent. Make sure to cover all the surfaces, including the inlet and outlet ports, the solenoid coil, and the valve body. Use the small brush to scrub away any stubborn dirt or debris. Pay special attention to the ports, as these are the areas most likely to become clogged.
After spraying and scrubbing, let the valve soak in the cleaning solvent for a few minutes to allow the solvent to break down the dirt. Then, use compressed air to blow out any remaining debris from the ports and passages. Make sure to blow air in both directions to ensure all the dirt is removed.
Step 7: Rinse and Dry the Valve
Once you've finished cleaning the valve with the solvent and compressed air, rinse it with clean water to remove any residual solvent. Shake off the excess water and use a clean rag or towel to dry the valve thoroughly. Make sure there is no moisture left inside the valve, as this could cause corrosion or electrical problems later on.
Step 8: Reinstall the Valve
After the valve is completely dry, it's time to reinstall it. First, reconnect the hoses and electrical connectors to the valve. Make sure they are properly seated and secured. Then, position the valve back in its original location and use the socket wrench to tighten the bolts or nuts that hold it in place.
Step 9: Reconnect the Battery
Once the valve is reinstalled, reconnect the negative cable to the battery terminal and tighten the nut. This will restore power to the vehicle's electrical system.

Step 10: Test the Vehicle
Start the vehicle and let it idle for a few minutes. Check for any signs of leaks or abnormal noises. If the engine runs smoothly and there are no warning lights on the dashboard, the cleaning process was successful.
As a carbon canister solenoid valve supplier, we offer a wide range of high - quality valves suitable for various vehicle models. For example, we have the Carbon Tank Solenoid Valve 0280142461 Suitable for Various Models Such As ford, the Carbon Tank Solenoid Valve 13907557923 Suitable for Various Models Such As BMW, and the Carbon Tank Solenoid Valve 0490B00701 Is Suitable for Various Models, Such As BYD.
If you are in the market for carbon canister solenoid valves or have any questions about cleaning or maintaining them, we are here to help. Feel free to contact us for more information and to discuss your specific requirements. Our team of experts is ready to assist you in finding the right products for your needs.
References
- Haynes Automotive Repair Manuals
- Chilton's Automotive Repair Guides